

Concept · Order Blocks
Order Block Backtester
The order block is the most drawn and least measured object in smart money trading. Drawing one is a judgement call; counting how often yours held is not. This is the replay that marks them mechanically, as price prints them, so the count is available.
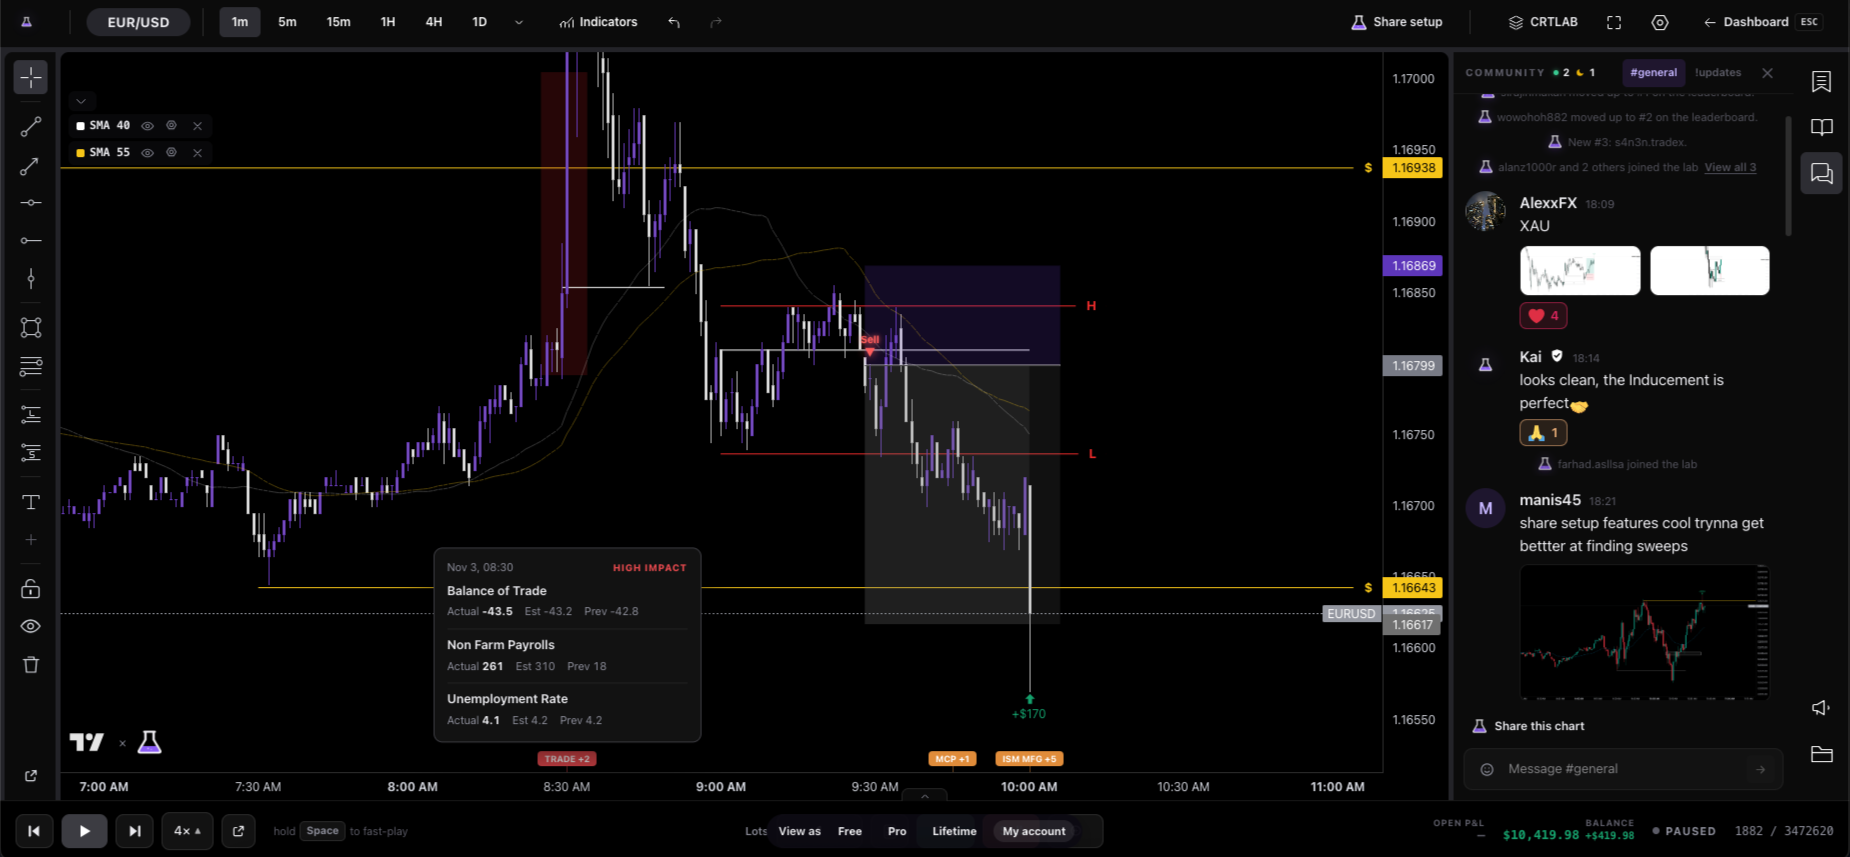
Order block, breaker block, and the difference that matters
An order block is the last opposing candle before a displacement — the final down candle before price ran up, or the final up candle before it ran down. The premise is that the move began there, so price returning to it meets unfilled interest.
A breaker is what that block becomes once it fails: price trades clean through it, and the level then acts from the other side. Same object, opposite role. CRTLAB detects both from one definition rather than treating them as separate drawings, which is what keeps the two consistent — a breaker on the chart is always a block you watched fail, not a level someone decided to call a breaker afterwards.
The full definition, with the disagreements spelled out, is in the order block reference entry.
What the backtest is actually measuring
Three numbers, and none of them are opinions. How often price returns to a block at all. How often the return produces a reaction you'd have traded rather than a slow bleed through. And what it costs when it doesn't hold — because the failures are where an order block strategy lives or dies, and they are the trades nobody screenshots.
Run it with the mitigated blocks left visible. A chart that hides everything that failed will show you a strategy that works perfectly, which is exactly the illusion backtesting is supposed to destroy.
How to test order blocks properly
Fix your displacement threshold before the first candle, not after the twentieth. The single most common way an order block backtest lies is that the tester quietly raises the bar for what counts as displacement each time a block fails — by the end you've defined the rule as "the ones that worked".
Stack it with structure. Most people don't trade a block in isolation; they trade one that formed at a level after a sweep and a shift in structure. Switch all three on at once and log only the confluences you'd genuinely take — the sample gets smaller and far more honest.
Size every logged setup with the position size calculator so the R values in your journal reflect real risk rather than a round number.
Frequently asked questions
Do I need an account to backtest order blocks?
No. Order blocks and breakers are free on every market for the most recent two weeks of data, straight from a guest session — click through and the chart opens with them already on.
Does it draw breaker blocks too?
Yes, from the same detection: a block that price trades clean through is re-roled as a breaker rather than deleted, so you see the failure and what it became.
Can I control how many blocks show at once?
Yes. A keep-last cap limits the chart to the most recent N, which is the single most effective clutter control there is — a chart carrying every block since 2015 is unreadable and untradeable.
Which market are order blocks best backtested on?
Test yours. Displacement is much cleaner on index futures than on ranging FX, so the same rule set produces genuinely different numbers on NAS100 and EURUSD — that difference is the finding, not a problem with the test.
Open gold with order blocks already marked
One click — XAUUSD, 15-minute, blocks and breakers drawn as price prints them.
Open the chart →